
MusicTech.blog
A Guide To Choosing The Right Studio Monitors
February 26, 2025
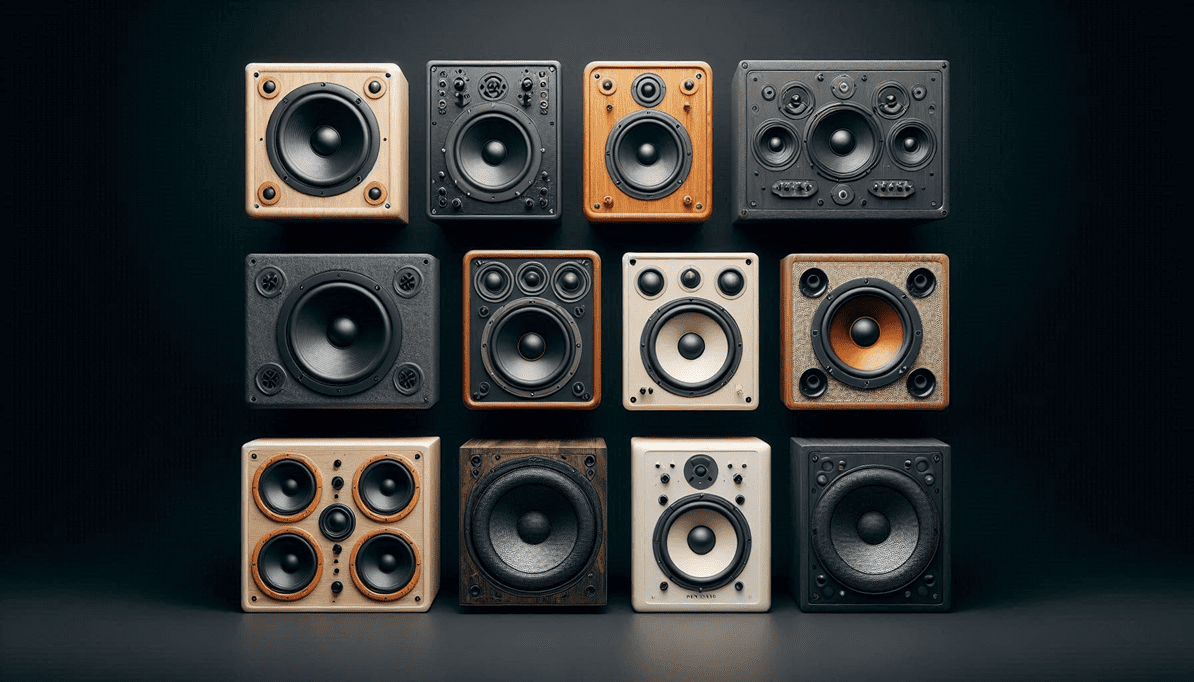
Studio monitors are the one piece of gear that affects every decision you make at the mix stage. Mix on speakers that flatter your music — that boost bass, hype the high end, or mask problems in the midrange — and your mixes will sound great in your room and fall apart on everything else. Mix on accurate monitors in a reasonably treated space, and what you hear in your studio translates: laptop speakers, car stereos, earbuds, club systems, all of it.
That translation is the entire purpose of a studio monitor. This guide explains what to look for, what the specs mean in practice, and which monitors are worth considering at different price points.
Why Studio Monitors Are Different From Hi-Fi Speakers
Consumer speakers — hi-fi speakers, bookshelf speakers, soundbars, Bluetooth speakers — are designed to be enjoyable. They typically boost bass frequencies to add warmth and impact, and enhance the upper frequencies to add presence and clarity. The result sounds good for casual listening but makes mixing unreliable: you can’t hear what’s actually in your audio because the speakers are already colouring it for you.
Studio monitors aim for a flat frequency response — reproducing audio as faithfully as possible without artificial enhancement or suppression of any frequency range. That flatness lets you hear what’s actually in your mix: a muddy buildup in the low-mids, a harsh resonance in the upper frequencies, a bass element that’s too prominent or too quiet. If you can’t hear the problem, you can’t fix it.
This doesn’t mean studio monitors sound harsh or unpleasant — a good monitor sounds natural and detailed, not clinical. But it does mean that mixes created on them tend to translate well to other playback systems, which is the point.
Active vs Passive Monitors
Almost every studio monitor sold today for home studio use is active (also called powered) — the amplifier is built into the monitor cabinet, matched to the drivers by the manufacturer, and requires only a power connection and an audio input. You do not need a separate amplifier.
Passive monitors require an external power amplifier and are primarily found in larger professional studio installations where the engineer wants to choose their amplifier independently. For home studio use, passive monitors are rarely the right choice unless you have a specific reason to use them. Stick with active monitors.
Woofer Size: What It Actually Means
Studio monitors are commonly described by their woofer (bass driver) diameter: 5-inch, 6-inch, 8-inch, and so on. This is the single most discussed spec and also the most misunderstood.
A larger woofer moves more air and extends lower in frequency before rolling off — an 8-inch woofer will typically go several Hz lower than a 5-inch before losing energy. However, a larger woofer in a small room creates a different problem: low-frequency buildup and room modes that make the bass appear louder and more present than it actually is in the mix. This results in mixes with insufficient low end — you cut the bass because it sounds big in your room, and it disappears on everything else.
For home studios in typical small rooms (under about 20 square metres), 5-inch to 6-inch monitors are generally the appropriate choice. They don’t extend as low in frequency, but in a treated or semi-treated small room, what you hear in the low-mid and mid ranges is more accurate and reliable than what you’d hear from 8-inch monitors fighting the room.
If your room is acoustically treated or larger, 8-inch monitors become viable. A subwoofer can extend low-frequency response while keeping the main monitors at a manageable size — though subwoofer integration requires careful calibration.
Key Specs to Actually Pay Attention To
Frequency Response
Frequency response specs (e.g., “45Hz – 22kHz”) tell you the range of frequencies the monitor can reproduce, but the number alone is incomplete without knowing how flat that response is across the range. A monitor claiming response down to 45Hz might be 10dB down at that frequency — technically reproducing it, but not accurately.
Look for frequency response specs that include a tolerance figure (e.g., “±3dB from 60Hz to 20kHz”) or, better, look at measured frequency response graphs from independent sources like Erin’s Audio Corner or SoundOnSound. The stated spec from the manufacturer is a marketing claim; the measured response tells you what’s actually happening.
Amplifier Power
Amplifier power in studio monitors is measured in watts and typically split between the woofer and tweeter amplifiers (e.g., “50W LF + 30W HF”). For home studio use at typical listening levels, amplifier power is rarely a limiting factor — a 50W monitor in a home studio will never be pushed to its limits in normal use. Don’t optimise for high wattage; it’s not a reliable indicator of sound quality.
Input Options
Studio monitors typically accept balanced XLR or TRS inputs, and sometimes unbalanced RCA. Balanced connections reject interference over cable runs, which matters more in larger studio environments than typical home studio setups. Most home studio producers connect monitors to their audio interface via TRS cables, which is perfectly adequate. If your interface only has unbalanced outputs, a short cable run to monitors will still be fine.
Room Correction Controls
Many monitors include EQ switches or filters for adjusting the frequency response to account for room placement — high-shelf adjustments for monitors placed against a wall, bass roll-off switches for corner placement, and so on. These are useful and worth paying attention to when comparing monitors, particularly if your studio placement isn’t ideal.
Some higher-end monitors (Neumann KH series, Genelec SAM series) include digital room correction with companion measurement and calibration software. This is genuinely valuable and represents one of the most significant jumps in mix translation you can make, but it comes at a price premium.
Monitor Placement Matters as Much as the Monitors
Even the best monitors will sound poor in a badly treated room with poor placement. A few fundamentals that apply in any home studio:
- Position monitors at ear height, with the tweeter aimed at ear level when seated at your mix position
- Form an equilateral triangle with your head and both monitors — if the monitors are 1 metre apart, you should sit 1 metre back from the line between them
- Avoid placing monitors against the back wall without treatment — bass frequencies build up at boundaries and will make your low end appear louder than it is
- Basic acoustic treatment goes a long way — a panel behind the listening position to reduce early reflections and some absorption in corners makes a measurable difference in how accurately you hear the low-mids and low frequencies
- Isolation pads under the monitors decouple them from the desk surface and reduce resonance coupling — a cheap and effective improvement
Recommended Studio Monitors by Budget
Entry Level: Under $300 per pair
The Yamaha HS5 is the standard entry-level recommendation and has been for years — neutral, reliable, and honest about problems in your mix. The HS series intentionally lacks low-end flattery, which makes them revealing monitors that translate well. The Adam Audio T5V is an alternative with Adam’s ribbon tweeter, which offers extended high-frequency detail and a different tonal character. The PreSonus Eris E5 XT is a strong value option with more low-end than the HS5 in a similar price bracket.
Mid Range: $300–$800 per pair
The Yamaha HS8 steps up from the HS5 with an 8-inch woofer — appropriate for larger rooms. The Adam Audio A7V is a serious monitor at this price point with excellent imaging, wide-band frequency response, and Adam’s A-ART tweeter technology. The Focal Alpha 50 Evo offers the characteristic Focal detail and stereo imaging at a price that’s accessible for serious home studios. Any of these represent a meaningful step above entry-level monitoring.
Professional: $800+ per pair
The Neumann KH 120 A is widely considered one of the most accurate near-field monitors available at any price — used in professional studios around the world and a reference-class tool for serious mixing and mastering work. The Genelec 8030C and the SAM-equipped models above it offer similar accuracy with Genelec’s room correction technology built in. At this tier, you’re buying monitors that professionals rely on for work that ends up on streaming services and in cinemas.
Don’t Skip Headphone Referencing
Even with excellent monitors, mixing exclusively on speakers in a home studio environment has limitations. Most professional engineers check their mixes on multiple playback systems — different speakers, in the car, on earbuds — before finalising. Referencing on headphones (particularly open-back headphones like the Sennheiser HD600 or Beyerdynamic DT 990) provides a different perspective on the stereo image, the low-end balance, and fine detail that room acoustics can mask.
A good workflow combines near-field monitoring on studio monitors with regular headphone checks and reference listening on consumer playback devices. The monitors are your primary tool; the other systems tell you whether what you’re hearing on them reflects what listeners will hear.
The Bottom Line
Choosing studio monitors for a home studio comes down to room size, budget, and willingness to invest in acoustic treatment. A good 5-inch monitor in a reasonably treated small room will produce more accurate mixes than an 8-inch monitor in an untreated space. The Yamaha HS5 remains the reliable entry-level recommendation; the Adam A7V and Focal Alpha 50 Evo are excellent steps up for producers ready to invest in better monitoring; and the Neumann KH 120 A is the answer when mixing quality is the priority above all else.
Whatever monitors you choose, spend time learning them — understanding how your mixes translate from your specific monitors in your specific room is a skill that develops over months, and it’s as important as the quality of the monitors themselves.