
MusicTech.blog
How to Use Compression: A Beginner’s Guide to Compressors
December 3, 2025
Compression is the most misunderstood tool in music production — and one of the most powerful. Used well, it makes performances sit better in a mix, controls dynamics without killing energy, and gives tracks a professional consistency. Used poorly, it squashes the life out of audio and leaves mixes sounding flat and fatiguing. This guide explains how compression actually works, what each control does, the different types of compressors and when to use them, and how to apply compression confidently to different sources.
What Does a Compressor Actually Do?
A compressor reduces the dynamic range of a signal — the gap between its quietest and loudest moments. When the signal exceeds a set threshold level, the compressor automatically turns it down by a set amount. The result is a more consistent level that’s easier to balance in a mix.
Think of it as an automated volume rider: instead of manually pulling the fader down every time the vocalist belts a loud note and pushing it up every time they drop to a whisper, the compressor does it automatically and in real time. After the compressor reduces the peaks, you use makeup gain to bring the overall level back up — and the result is a signal that’s louder on average, more consistent, and easier to fit into a mix without constant manual fader moves.
The Key Controls Explained
Threshold
The threshold sets the level at which compression begins. Signals below the threshold pass through untouched; signals above it get compressed. A lower threshold means more of the signal gets compressed — including quieter parts. A higher threshold only compresses the loudest peaks. Start with a moderate threshold setting and adjust based on how much gain reduction the meter is showing.
Ratio
The ratio determines how aggressively the compressor reduces levels above the threshold. A ratio of 2:1 means that for every 2 dB the signal goes above the threshold, only 1 dB comes out — a gentle compression. A ratio of 4:1 is moderate; 8:1 is heavy. A ratio of 10:1 or higher is limiting — at these ratios, the signal is prevented from going significantly above the threshold at all.
Common starting points: 2:1 to 3:1 for gentle bus compression; 4:1 to 6:1 for vocal control; 4:1 to 8:1 for drum room and parallel compression; 10:1 or higher for brick-wall limiting.
Attack
Attack controls how quickly the compressor responds when the signal exceeds the threshold. A fast attack (1–5 ms) catches transients immediately, which can reduce punch and impact — useful for controlling harsh peaks but detrimental to drums and guitars where the initial attack is part of the character. A slow attack (20–100 ms) lets the initial transient through before compression kicks in, preserving the punch and snap of the performance.
This is one of the most creative compression controls. A slow attack on a snare drum lets the stick attack punch through while compressing the body of the sound — adding sustain and weight without dulling the impact. On vocals, a faster attack catches the loudest consonants before they become harsh.
Release
Release controls how quickly the compressor stops compressing after the signal drops below the threshold. A fast release (50–100 ms) means the compressor recovers quickly and is ready to compress the next transient — which can create a “pumping” effect if too fast, but can also add energy and rhythmic movement to a track. A slow release (300–600 ms) means the compressor holds its gain reduction longer, producing a smoother, more transparent sound.
On mix bus compression, a release time that tracks the tempo of the music — releasing on the beat — can make compression feel musical rather than mechanical. Many engineers set release by ear: loop a section of music and adjust release until the compression breathes with the groove rather than fighting against it.
Knee
The knee determines how the compressor transitions into compression as the signal approaches the threshold. A hard knee means compression engages abruptly exactly at the threshold — the transition from uncompressed to compressed is immediate. A soft knee applies compression gradually as the signal approaches the threshold, starting light compression slightly below it and reaching full compression above it. Soft knee settings sound more transparent and natural; hard knee settings are more precise and aggressive. For most mixing applications, a soft knee is the default choice.
Makeup Gain
Compression reduces the overall level of a signal by turning down its peaks. Makeup gain (sometimes called output gain) compensates for this reduction by bringing the compressed signal back up to a useful level. A common mistake is to judge compression by how loud the output sounds — a louder signal always sounds “better” in a quick comparison. Use your DAW’s gain matching or compare with the compressor bypassed at the same level to make an honest assessment of what the compression is actually doing.
Types of Compressors and Their Characters
Not all compressors behave the same way. The circuit topology of a compressor — the technology it uses to detect and control gain reduction — fundamentally affects its character and the sonic results it produces. The four main types found in hardware and plugin compressors:
VCA Compressors
VCA (Voltage Controlled Amplifier) compressors are fast, precise, and transparent — or punchy and aggressive, depending on the design. They respond quickly to transients, making them excellent for drums, bass, and situations where precise dynamic control is needed. The SSL G-Bus compressor (ubiquitous on mix buses) and the dbx 160 series are classic VCA designs. Plugin emulations include the SSL G-Bus Compressor, Waves SSL G-Master Buss Compressor, and UAD’s dbx 160. The API 2500 is another beloved VCA design known for adding weight and punch rather than simply controlling dynamics.
FET Compressors
FET (Field Effect Transistor) compressors — most famously the Urei/Universal Audio 1176 — are extremely fast and are characterised by the aggression and colour they add to whatever passes through them. The 1176 “all-buttons-in” mode (pressing all ratio buttons simultaneously) is one of the most distinctive compressor sounds in recorded music history, adding a saturated, pumping character that works particularly well on rock vocals, snare drums, and bass. FET compressors are not transparent tools — they’re character tools that add energy and attitude.
Optical Compressors
Optical compressors use a light source and photocell to control gain reduction. The photocell’s response to changes in light level is inherently non-linear and relatively slow — which produces a compression character that feels musical, smooth, and natural rather than mechanical. The LA-2A is the most famous optical compressor; its programme-dependent release (which adjusts automatically based on the signal content) makes it particularly flattering on vocals and bass without requiring careful parameter adjustment. Optical compression is often described as “doing less damage” to a signal — it controls dynamics while preserving the natural feel of a performance.
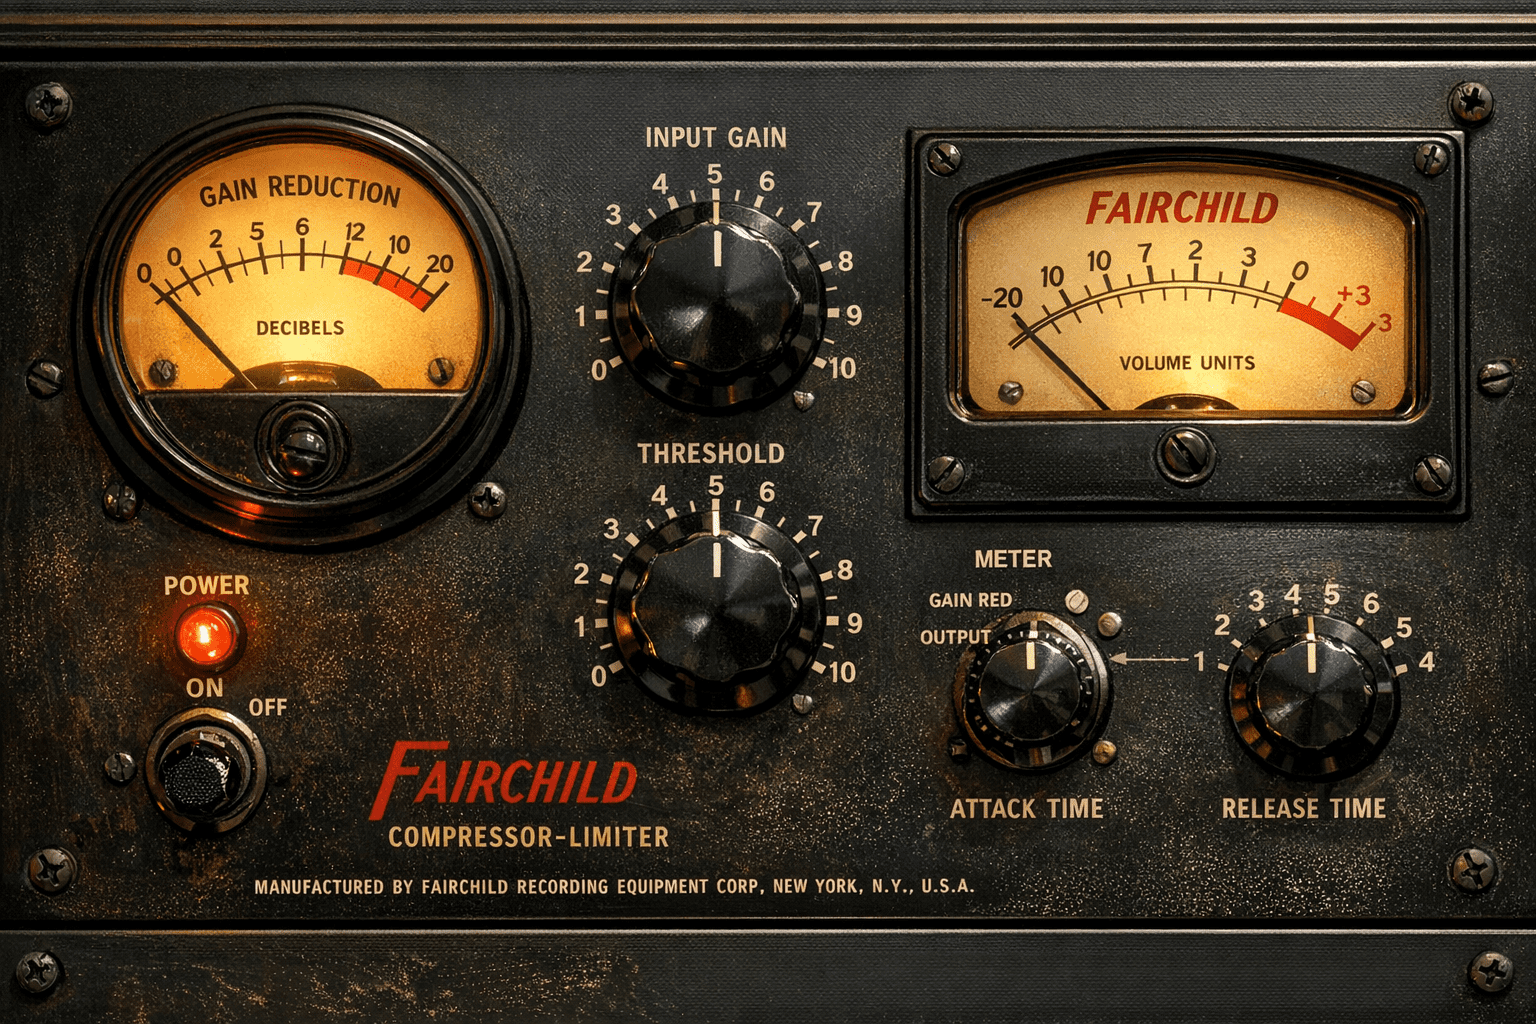
Variable-Mu Compressors
Variable-mu (also called tube or vari-mu) compressors use vacuum tubes whose amplification characteristics change with signal level. They are the slowest and most coloured of the compressor types — warm, smooth, and harmonically rich. The Fairchild 660/670 and the Manley Variable Mu are the classic hardware examples. Variable-mu compression is most commonly used on mix buses and mastering chains, where its gentle, musical gain control adds cohesion and warmth to an already well-balanced mix. It’s not a corrective tool; it’s a finishing tool.
Compression by Source: Practical Starting Points
Lead Vocals
Vocals typically need more compression than any other element in a mix, because vocal dynamics are wide and unpredictable. A starting point: ratio 3:1 to 4:1, medium-fast attack (10–20 ms), medium release (100–200 ms), threshold set for 4–8 dB of gain reduction on loud phrases. Follow with a second compressor (serial compression) at a lower ratio — stacking two compressors each working gently is more transparent than one compressor working hard. An LA-2A-style optical compressor after a VCA compressor is a classic vocal chain.
Kick Drum
Kick drum compression shapes the attack and sustain character. A slow attack (30–60 ms) lets the initial transient punch through before compression engages — preserving the impact. A moderate release (60–120 ms) determines whether the kick feels tight or has a more extended decay. High ratios (6:1 to 10:1) with moderate gain reduction (4–8 dB) are typical. A VCA-style compressor like the API 2500 or dbx 160 is the classic choice for kick drum — fast, punchy, and adds weight.
Snare
Snare compression enhances snap and body. Slow-to-medium attack (5–20 ms) preserves the crack of the stick. A release that matches the tempo of the track helps the compressor breathe with the groove. A 1176-style FET compressor on snare is a classic choice — the aggression of the 1176 character suits the snap and energy of a snare drum particularly well.
Bass Guitar and Bass Synth
Bass benefits from compression that controls the wide dynamic difference between picked notes, fingerstyle passages, and thumb slaps — while preserving the groove and feel of the performance. An optical compressor (LA-2A style) is a first choice for recorded bass: the slow, musical response evens out dynamics without making the bass feel robotic. For electronic bass and synth bass, faster VCA compression can add punch and consistency. Typical settings: 4:1 to 6:1, medium attack, medium-to-slow release, 4–8 dB gain reduction.
Mix Bus
Mix bus compression is used to add cohesion — “glue” — to the mix, making the individual elements feel like they belong together rather than sitting in separate spaces. The key is subtlety: 1–3 dB of gain reduction, 2:1 to 4:1 ratio, slow attack (20–60 ms), and a musical release. The SSL G-Bus compressor and variable-mu designs are the most common choices for mix bus. Many engineers apply mix bus compression from early in the mixing process so they’re mixing into the compressed sound rather than adding it at the end.
Parallel Compression
Parallel compression (also called New York compression) blends a heavily compressed version of a signal with the original uncompressed signal. The technique is particularly popular on drums — you can apply aggressive compression that would normally destroy the life of the performance, but because you’re blending it in at a low level beneath the uncompressed original, you get the density and weight of heavy compression without losing the natural dynamics and impact of the unprocessed signal.
In practice: send the drums (or any source) to an aux send. Apply heavy compression on the aux (high ratio, fast attack, lots of gain reduction). Blend the aux back in at a low level — typically 20–40% of the original level. Adjust to taste. Most DAWs have built-in parallel processing via send/return routing; some compressor plugins (like the Neve 33609 emulations) include a built-in Dry/Wet mix for parallel compression without needing a separate send.
Sidechain Compression
Sidechain compression allows the compressor to respond to one signal while compressing another. The most common application: ducking the bass guitar slightly every time the kick drum hits, so the kick and bass don’t compete for low-frequency space. The kick signal is routed to the compressor’s sidechain input; the compressor is inserted on the bass track. Every kick hit triggers compression on the bass, briefly reducing its level to make room for the kick’s fundamental.
The same technique is used in broadcast for “ducking” — music or effects automatically reduce in level when a voice appears — and in electronic music for the pumping, rhythmic compression effect made famous by French house and electronic dance music, where a kick drum sidechains heavy compression on synth pads to create a breathing, pumping motion that’s as much a rhythmic element as a dynamic one.
Common Compression Mistakes
- Over-compressing because louder sounds better. A compressed signal with makeup gain applied will always sound louder and therefore initially “better” in an A/B comparison. Match levels before comparing compressed to uncompressed, or you’ll always over-compress.
- Setting attack too fast on everything. A very fast attack kills transients and removes the impact from drums, guitars, and any percussive source. Start slower and only tighten the attack if there’s a specific harshness problem to address.
- Compressing to fix a problem that needs EQ. A vocal that sounds harsh isn’t a dynamic problem — it’s a frequency problem. Compression can’t fix a harsh 3kHz peak; an EQ dip at 3kHz can. Reach for EQ first when the issue is tonal, compression when the issue is dynamic.
- Applying the same compressor to everything. Different compressor types suit different sources. An 1176 on a snare sounds great; an 1176 on a gentle acoustic guitar might be too aggressive. Matching the compressor character to the source produces better results than defaulting to one plugin for everything.
- Not using your ears. Compressor meters and gain reduction displays are useful references, but compression should be evaluated by listening, not reading. Loop a section, set a parameter, and listen. The numbers are a starting point, not the destination.
The Bottom Line
Compression is a skill that develops through experimentation and careful listening. The starting points in this guide will get you to a working result quickly; developing an intuitive understanding of how each parameter affects the character of a compressed signal takes time and practice. The most effective approach: work on one source at a time, loop a section, adjust one control while everything else stays fixed, and listen to what changes. The ear learns compression faster than any parameter explanation can teach it.
Further Reading
- EQ Explained: How to Shape Tone and Fix Problems in Your Mix
- Mixing Basics: How to Balance, EQ, and Pan Your Tracks
- How to Master a Song at Home: Loudness, Limiting and Streaming Targets
- Saturation and Distortion Explained: Adding Warmth and Grit to Your Mix
- Audio Effects Explained: A Beginner’s Guide