
MusicTech.blog
How to Record Vocals at Home: Microphones, Rooms and Technique
September 24, 2025
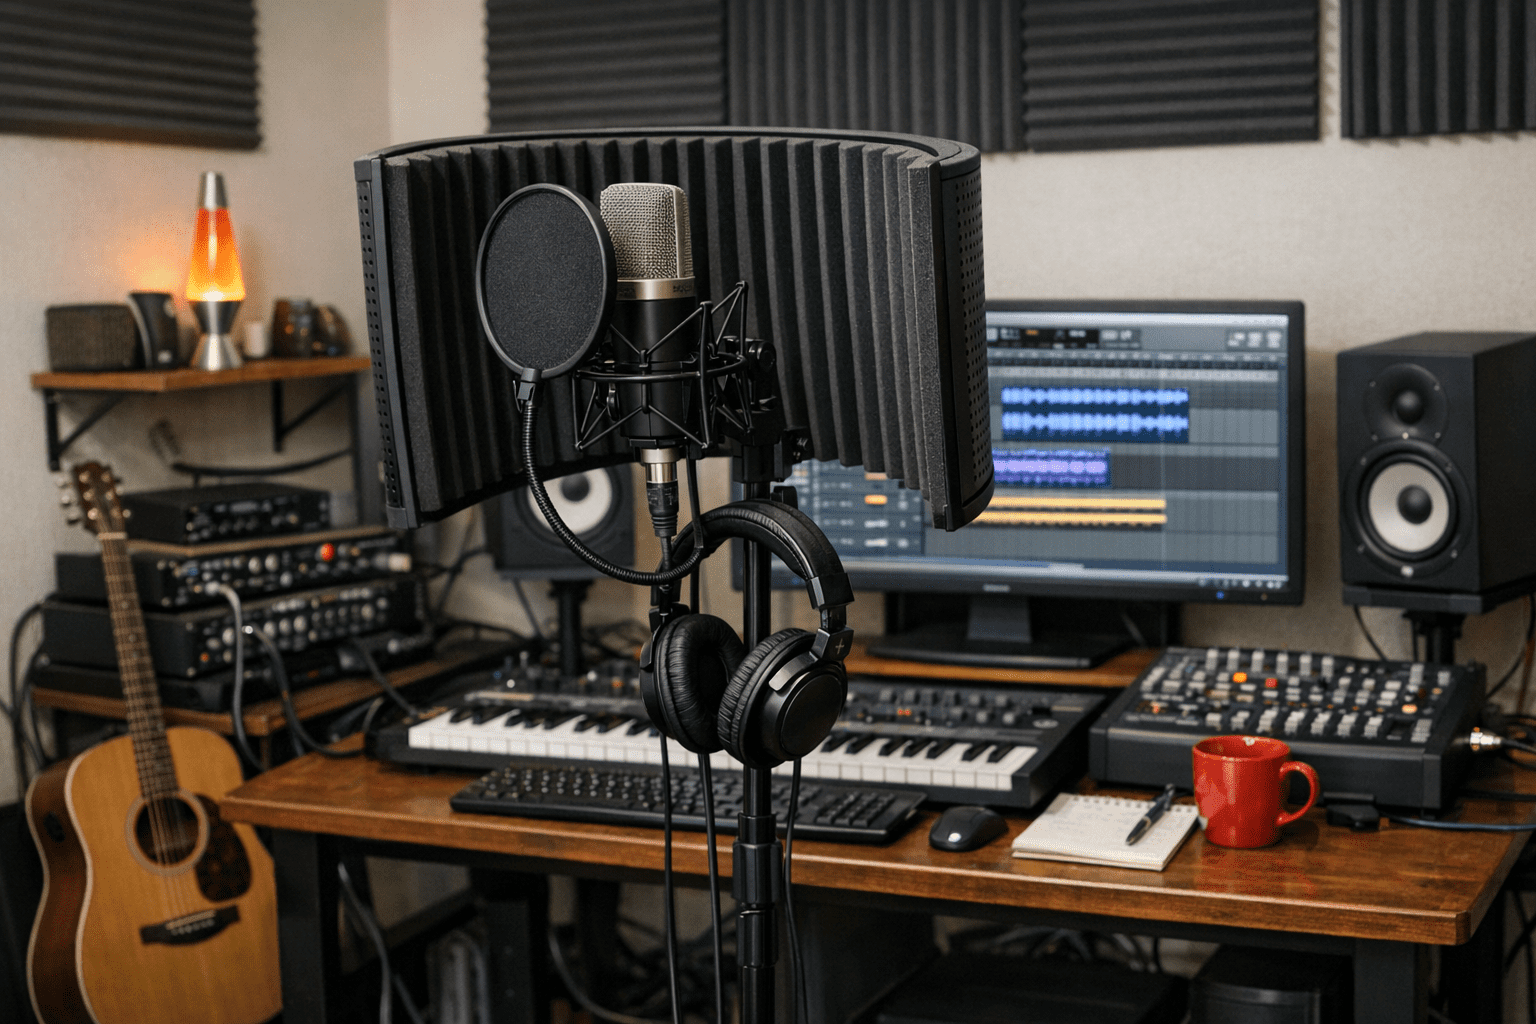
Recording great vocals at home is entirely achievable with modest gear — but it requires understanding a few key principles that expensive microphones alone can’t compensate for. Room acoustics, microphone technique, signal chain setup, and performance preparation all matter more than most beginners expect. This guide covers everything you need to capture professional-quality vocals in a home studio environment.
The Gear You Need
Microphone
A large-diaphragm condenser microphone is the standard choice for studio vocal recording. Condensers are more sensitive than dynamic microphones and capture the full frequency range of a voice — including the subtle detail, breath, and air that makes a vocal sit naturally in a mix. Good options in the $100–$200 range include the Audio-Technica AT2020, Rode NT1 5th Generation 5th Generation, and sE Electronics SE2200. For step-up options, the Rode NT1-A, AKG C214, and Neumann TLM 102 are used on professional recordings daily.
Note that condenser microphones require phantom power (+48V) — supplied by your audio interface. Confirm it’s enabled before recording.
Audio Interface and Preamp
Any interface with a decent preamp — Focusrite Scarlett, SSL 2+, Audient EVO or iD series — provides more than enough quality for home vocal recording. The preamp gain is critical: set it so your loudest vocal peaks hit approximately -12 to -18 dBFS on the DAW meter. This leaves headroom for unexpectedly loud moments and keeps the preamp operating in its cleanest range.
If you use a high-gain dynamic microphone like the Shure SM7B has sufficient clean gain — the SM7B requires 55–60dB of gain, which some budget interfaces struggle to provide without introducing noise. A Cloudlifter CL-1 or similar inline preamp provides an additional 20dB of gain before the interface, solving this problem at low cost.
Pop Filter
A pop filter (a mesh screen placed between the vocalist and the microphone) reduces plosive sounds — the explosive bursts of air from “p” and “b” sounds that cause low-frequency thumps in recordings. Every vocal recording setup needs one. A basic nylon mesh pop filter on a gooseneck arm costs under $15 and is just as effective as expensive options.
Headphones for Monitoring
The vocalist needs to hear the backing track and themselves while recording. Use closed-back headphones — open-back headphones leak sound that the microphone will pick up, causing bleed in the recording. The Sony MDR-7506 and Beyerdynamic DT 770 Pro are the standard recommendations. Keep headphone volume at a comfortable level — loud headphone monitoring causes fatigue and affects pitch accuracy.
Room Acoustics: The Most Important Variable
The room you record in is the most significant factor in vocal recording quality — more important than the microphone at entry and mid-level price points. A condenser microphone captures everything in front of it, including room reflections, HVAC noise, and ambient sound. Getting the room right before you record is always more effective than trying to remove room sound in post-production.
Finding the Right Space
Small rooms with soft furnishings sound better than large, bare rooms for close-miked vocals. A bedroom with carpet, curtains, and a wardrobe is acoustically far more suitable than a kitchen or living room with hard floors and bare walls. Many professional producers record reference vocals in a walk-in closet — the clothing hanging on rails provides effective broadband absorption and the small, irregular space prevents strong reflections.
Practical Treatment Options
- Record in a corner with soft furnishings behind and to the sides — the corner breaks up parallel reflections and the soft materials absorb them
- Hang blankets or duvets on the walls immediately behind the vocalist and to the sides — this is the DIY version of a recording booth and is surprisingly effective
- Face away from hard reflective surfaces — the microphone’s rear null (in cardioid pattern) should face the most reflective surface in the room, minimising pickup of room reflections
- A portable vocal booth (a curved panel of acoustic foam that sits behind the microphone) reduces early reflections from the wall behind the microphone and is a cost-effective solution in spaces where permanent treatment isn’t possible
Microphone Placement and Technique
Distance from the Microphone
The standard starting distance for lead vocal recording is 15–30 cm (6–12 inches) from the microphone capsule. At this distance, you get a balance between the intimate, present sound of a close vocal and enough distance to minimise the proximity effect (the bass boost that occurs as a sound source gets very close to a directional microphone) and reduce the pickup of breath and plosives.
Moving closer (8–15 cm) increases warmth and intimacy and emphasises the proximity effect — useful for a rich, close sound on low male vocals or for an intentionally intimate character. Moving further away (30–60 cm) captures more room sound and reduces intimacy — useful for background vocals, choir recordings, or creating space between the lead vocal and other elements.
Microphone Angle
Placing the microphone slightly above the vocalist’s mouth, angled down toward the lips, naturally reduces plosive problems (p/b sounds travel forward and slightly downward from the mouth, so a slightly elevated microphone angle puts them off-axis). It also reduces the pickup of chest and stomach resonances that can make vocals sound boxy. The vocalist should sing slightly past the microphone rather than directly into it.
Managing Dynamic Range During Recording
Vocalists naturally have wide dynamic range — the difference between a soft, conversational verse and a belted chorus can be 15–20 dB. Encourage the vocalist to move back slightly from the microphone on louder sections and move in closer on quieter phrases. This simple technique — “riding the distance” — produces a more naturally consistent recording before any compression is applied and reduces the risk of clipping on unexpectedly loud notes.
The Monitoring Mix for the Vocalist
The headphone mix a vocalist hears while recording directly affects their performance. A mix that’s too loud causes ear fatigue. Too much reverb makes it difficult to pitch accurately. Too little of their own voice makes them push and strain. Too much of their own voice pulls attention away from the backing track.
A good starting point: the vocalist slightly louder than the backing track in the headphone mix, with a moderate amount of reverb or short room ambience to take the edge off the dry, close-miked sound. Many vocalists prefer some reverb in their headphone mix during tracking — it helps them hear themselves in a natural acoustic context. This monitoring reverb is for the performance only and doesn’t need to match what you’ll use in the mix.
Direct monitoring on the interface (where the microphone signal is routed directly to the headphone output without passing through the DAW) eliminates latency in the monitoring signal, which is important — even a few milliseconds of delay in the monitored signal is disorienting for a vocalist.
Recording Multiple Takes and Comping
Professional vocal sessions almost never use a single take. The standard approach is to record multiple complete takes of each section — typically three to five passes of the verse, chorus, and bridge separately — and then compile (comp) the best moments from each take into a single composite performance.
Most DAWs have a dedicated comping feature: in Cubase, Logic, and Reaper, multiple takes recorded to the same track stack up in a lane view where you can click to select which take’s audio appears in each section. In Ableton to separate clips that can be assembled manually. The process of comping — listening through each take and selecting the best phrase, word, or even syllable — is how studio vocals achieve the sense of a perfect performance.
Basic Processing: Getting the Vocal to Sit in the Mix
A typical home studio vocal processing chain:
- High-pass filter at 80–100 Hz — removes low-frequency rumble and room resonance below the vocal’s useful range. Most vocal processing starts here.
- De-esser — reduces sibilance (harsh “s” and “sh” sounds) that condensers emphasise. Place early in the chain before compression so you’re not compressing enhanced sibilance.
- Compression — 3:1 to 4:1 ratio, medium-fast attack, medium release, 4–8 dB gain reduction. Levels out the performance and adds consistency. Many engineers use two compressors in series (serial compression) at gentler settings each for a more natural result.
- EQ — cut any boxiness at 200–350 Hz; boost presence and clarity at 3–5 kHz; add air at 10–12 kHz if the recording sounds dull. Corrective before creative.
- Reverb and delay — place the vocal in a space. A short room reverb adds depth; a delay (often with tempo sync) creates the sense of space between the vocal and other elements without washing it out.
Pitch correction (Auto-Tune or Melodyne) is a standard part of modern vocal production — used subtly, it’s inaudible and simply corrects occasional pitch drift without changing the character of the performance. Used heavily, it produces the deliberately robotic effect heard in modern pop and hip-hop.