
MusicTech.blog
Setting Up Your Home Studio Workflow: A Practical Guide
March 19, 2025
Getting your home studio setup right is one of those projects that can feel simultaneously exciting and overwhelming. There are dozens of decisions to make — gear, software, acoustics, workflow — and the internet will happily sell you expensive solutions to problems you may not actually have. This guide is about cutting through that noise and helping you build a workspace that genuinely works for how you create.
Start With the Space, Not the Gear
Before you buy anything, spend time thinking honestly about the room you’re working in. The acoustic properties of your space will affect every recording and mixing decision you make. Hard, parallel walls create reflections and standing waves. Low ceilings trap bass. Untreated rooms make accurate mixing decisions difficult regardless of how good your monitors are.
You don’t need to build a professionally designed studio — but a few practical steps make a significant difference. Bass traps in corners reduce the low-frequency buildup that causes under-compressed mixes. Absorption panels at first reflection points improve the accuracy of your stereo image and high-frequency perception. A rug on a hard floor reduces flutter echo. These are investments in the quality of every session you ever do in that space — they pay off more than almost any gear upgrade.
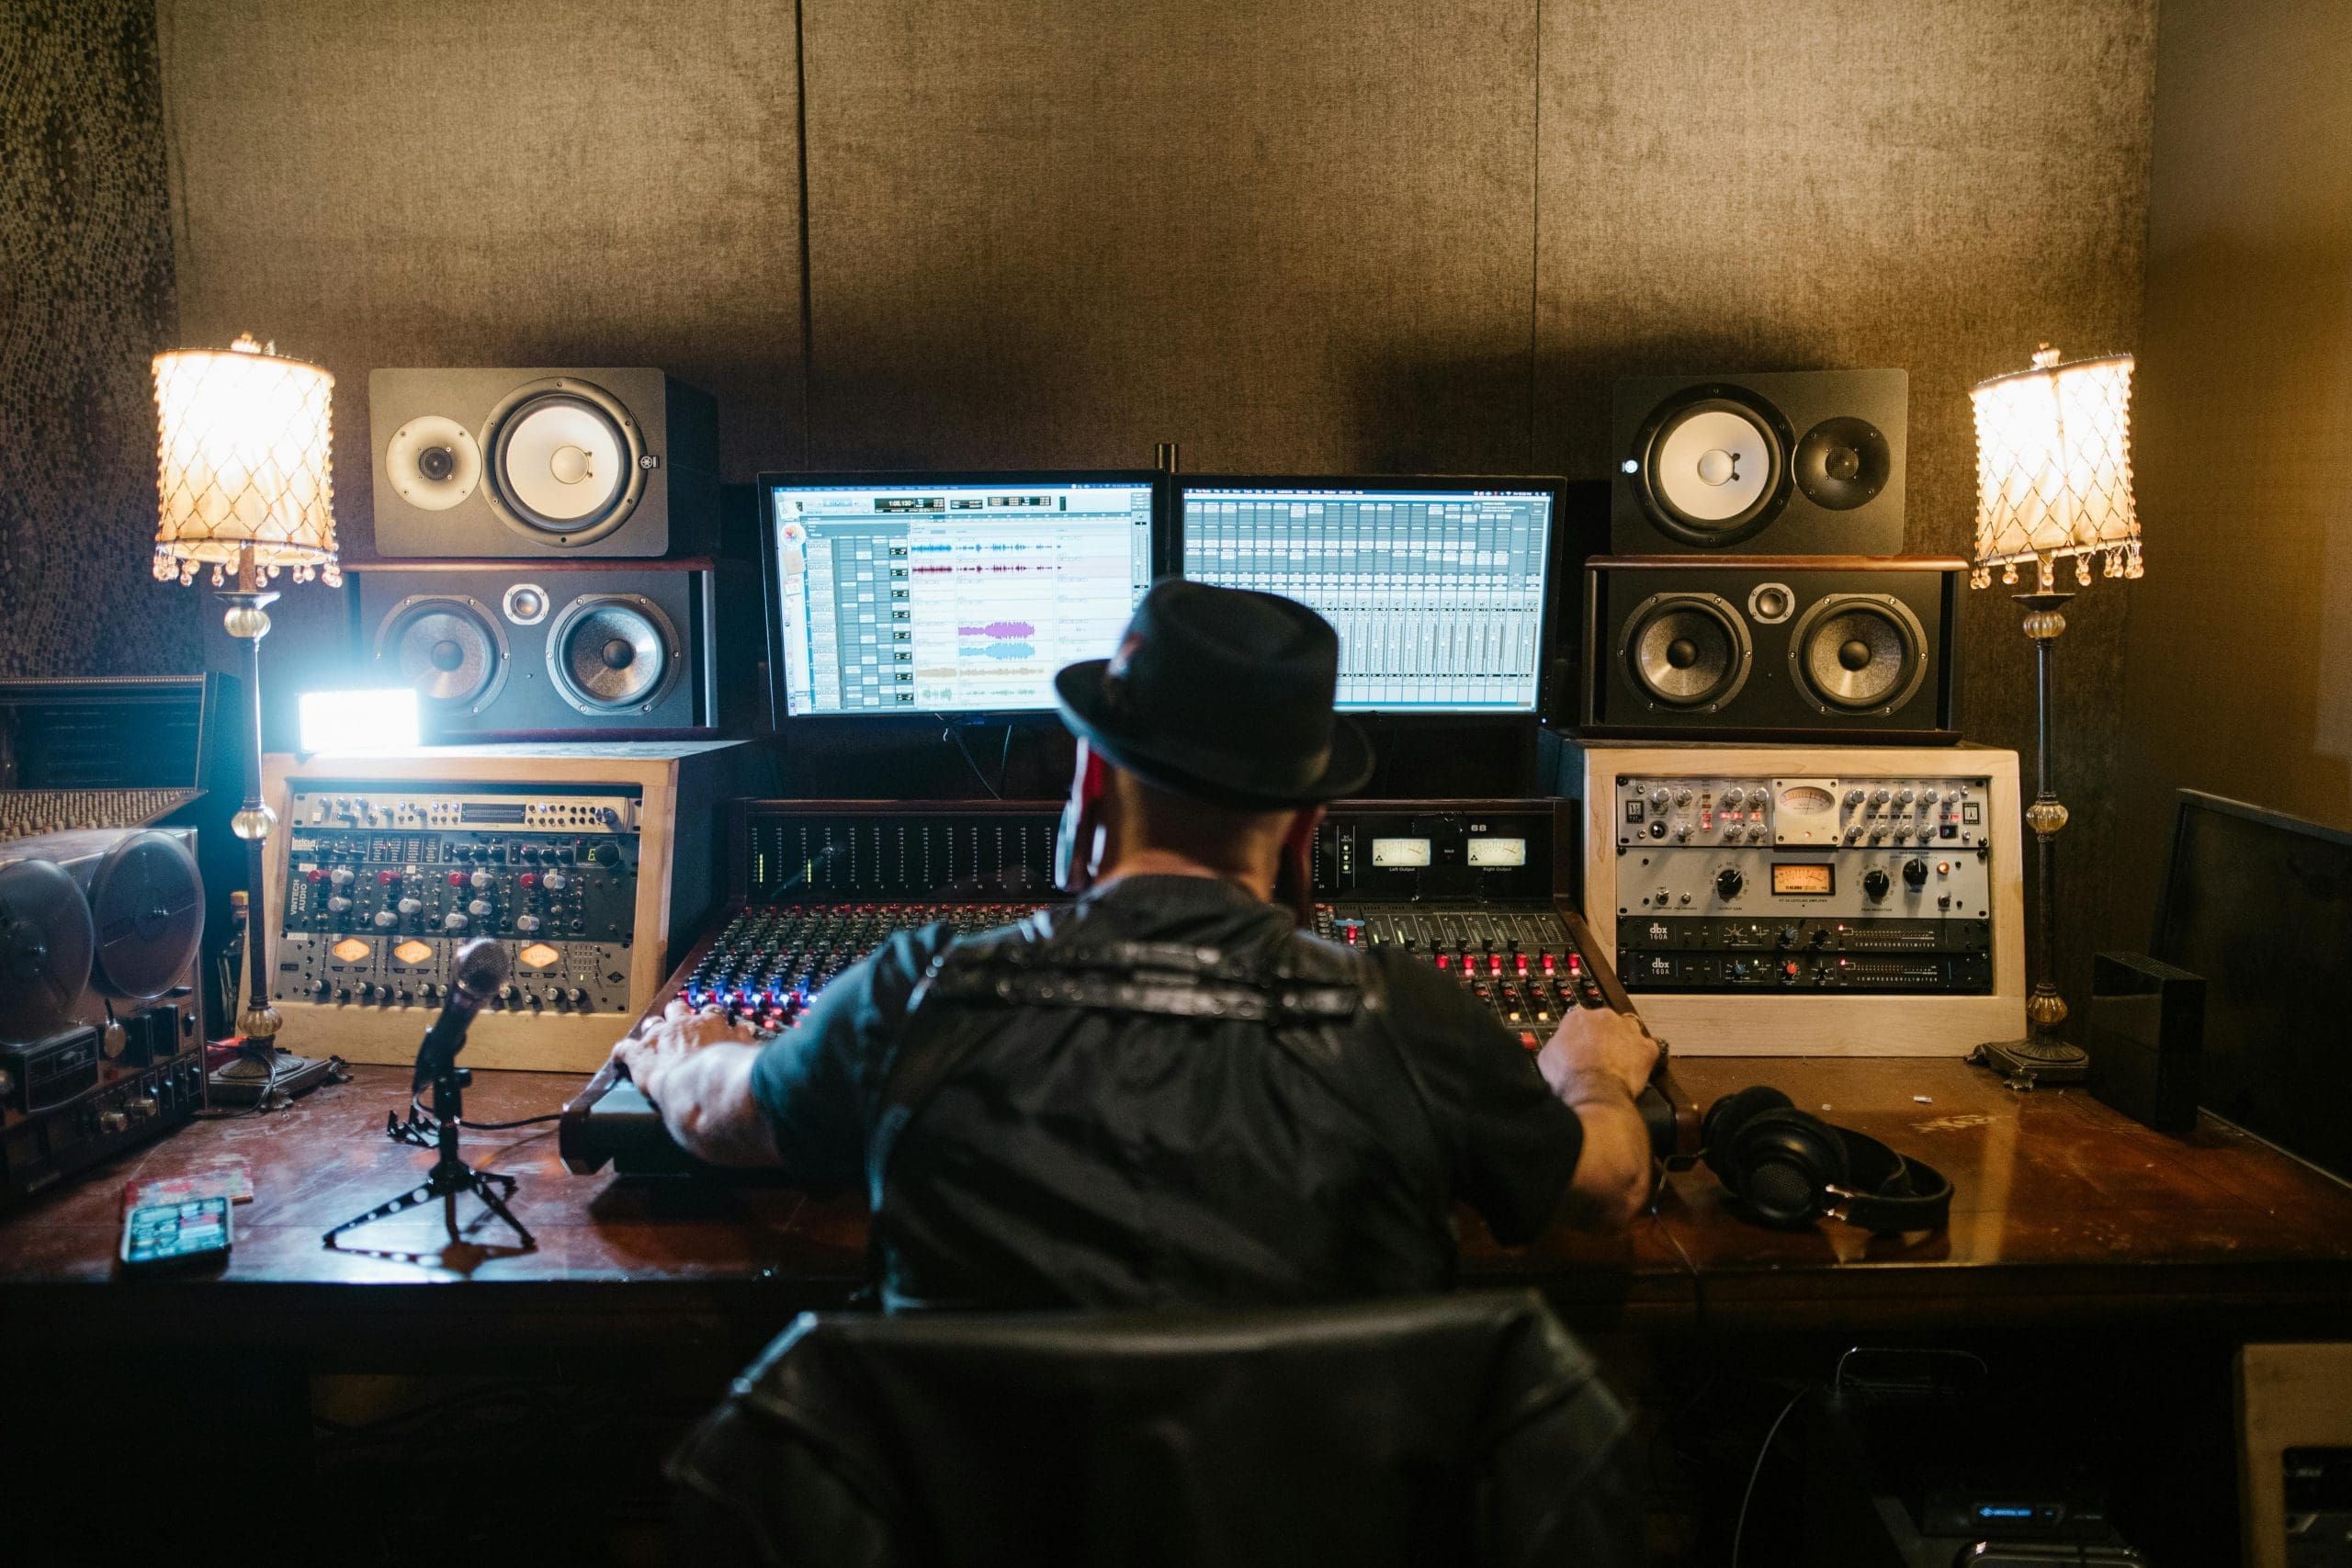
Desk and Monitor Placement
The physical arrangement of your workspace directly affects your ergonomics and the accuracy of your monitoring. A few principles that apply in any room:
- Monitors at ear height — the tweeter should be at the same height as your ears when seated at your mix position. Too high or too low changes the frequency balance you hear.
- Equilateral triangle — you should sit at approximately the same distance from each monitor as the monitors are from each other. If the monitors are 1 metre apart, sit 1 metre back.
- Avoid corner placement — monitors placed in corners or very close to walls excite room modes strongly, making the bass appear louder and more present than it actually is in the mix.
- Isolation pads under monitors — decoupling monitors from the desk surface reduces resonance coupling between the monitor cabinet and the desk. A simple and inexpensive improvement to monitoring accuracy.
- Monitor angle (toe-in) — most near-field monitors benefit from being angled slightly inward (toed in) toward the listening position, so the high-frequency response is aimed directly at your ears rather than firing slightly off-axis.
Cable Management and Signal Flow
A home studio with poor cable management becomes frustrating to work in quickly. Tangled cables cause noise problems, make reconfiguring setups difficult, and create a general sense of chaos that affects the creative session. A few practical measures that help:
- Run audio cables (XLR, TRS) away from power cables to minimise interference and induced hum
- Use cable ties or velcro wraps to bundle cables running to the same destination
- Label both ends of any cable you’re not sure about — confusion about which cable goes where costs time in every session
- Keep a short patch cable available at the desk for quick connections without having to reach behind gear
- Consider a small patch bay if your setup has more than 6–8 regularly reconfigured connections — it concentrates all routing decisions to a single accessible location
DAW Template: The Foundation of Your Workflow
A well-configured DAW project template is one of the highest-leverage workflow improvements you can make. Instead of starting every project from a blank session and reconfiguring the same tracks, buses, plugins, and routing each time, a template gives you a fully prepared starting point for any new session.
A comprehensive template might include:
- Pre-named track groups — drums, bass, guitars, keys, vocals, FX, with appropriate colour coding in the DAW’s track list
- Aux buses and send/return routing — reverb sends (room, hall, plate), delay sends (short, long), parallel compression buses — all configured and ready to use
- Mix bus processing — your standard mix bus compressor and EQ already inserted and set to your baseline settings, so you’re always mixing into a consistent signal chain
- Reference track — a track reserved for importing commercial reference recordings to compare your mix against
- Standard plugin inserts on vocal and instrument channels — the processing chain you reach for on every session, already in place
- Sample rate and bit depth — set appropriately for your primary delivery format (24-bit / 44.1kHz for music, 24-bit / 48kHz for video)
Building a template takes an hour or two; the time saved across hundreds of future sessions makes it an exceptional investment. Update the template whenever you develop a new default approach to routing or processing.
Folder Organisation and File Management
Consistent file and folder organisation prevents the loss of projects, samples, and recordings and makes it possible to return to old projects reliably. A practical structure:
Projects folder → Year → Artist/Project Name → Sessions (DAW project files), Audio (recorded audio), Exports (stems and mixdowns), References (commercial reference tracks)
Every DAW project file should be self-contained — using the DAW’s “collect files” or “consolidate” function to gather all audio files into the project’s own audio folder, rather than referencing files from disparate locations. This ensures the project can be opened on any computer, backed up as a single folder, or archived without losing any audio.
Backup Strategy
The only acceptable backup strategy for creative work is one that doesn’t depend on you remembering to do it. Automated backup to at least two locations — one local, one off-site or cloud — is the professional standard for a reason. Losing a finished session to a hard drive failure or accidental deletion is not just frustrating; for a working producer it’s a commercial problem.
- Enable automatic project backup in your DAW — most DAWs save incremental backup copies of the project file at configurable intervals. Set this to every 10–15 minutes.
- Local backup — a second internal or external hard drive with an automated backup application running regularly. Time Machine (macOS) or Windows Backup handle this automatically.
- Off-site/cloud backup — Dropbox, Google Drive, or a dedicated cloud backup service like Backblaze for your entire projects folder. Audio files are large, but storage is cheap relative to the cost of losing finished work.
- Archive finished projects — when a project is complete, archive the entire consolidated project folder to a dedicated archive drive and verify the backup before deleting working files from your primary drive.
Ergonomics and Session Health
Long sessions in a poorly configured studio environment cause physical strain that accumulates over years. A few ergonomic considerations that matter for long-term studio health:
- Chair height — your forearms should be roughly horizontal when your hands rest on the keyboard, and your feet should rest flat on the floor. A proper adjustable chair is worth the investment for anyone spending hours at a desk.
- Monitor distance — screens should be at approximately arm’s length and the top of the screen at or slightly below eye level. Positioned too close or too high causes neck and eye strain.
- Listening level — consistent reference monitoring level reduces listening fatigue and produces more consistent mixing decisions. Many engineers use the “85 dB SPL” standard for long mixing sessions; many home studio producers find 75–80 dB more practical for extended work.
- Take regular breaks — ears fatigue with sustained loud monitoring just as eyes fatigue with sustained screen use. A 10-minute break every hour of intensive listening work keeps perception fresher and improves decision quality.
A home studio that’s organised, acoustically considered, and ergonomically set up is a place you’ll want to spend time in — and the environment you work in directly affects the quality and consistency of the work you produce there.