
MusicTech.blog
Audio Effects Explained: A Beginner’s Guide to Reverb, Delay, Compression, and More
September 16, 2025
When you start working in a DAW, it doesn’t take long before you’re staring at a plugin menu with dozens of options and no clear idea what most of them do. Reverb, compression, delay, saturation, chorus — these words get thrown around constantly in production tutorials, but what are they actually doing to your audio?
This guide gives you a plain-English overview of the main categories of audio effects — what each one does, why you’d use it, and where to learn more. Think of it as your effects map: a starting point for understanding the tools, not a deep dive into any one of them.
What Are Audio Effects?
An audio effect is any process that modifies a sound after it’s been recorded or generated. In a DAW, effects are typically applied as plugins — either directly to a track (insert effects) or via a shared send/return bus (send effects). Some effects are corrective (fixing problems in a recording), others are creative (shaping the character and space of a sound), and most can be both depending on how you use them.
Effects fall into a handful of broad categories based on what they actually do to the audio signal. Understanding those categories is the foundation for everything else.
Dynamics Effects: Controlling Volume Over Time
Dynamics effects manage the relationship between the loudest and quietest parts of a signal. The most important is the compressor, which automatically reduces the volume when a signal gets too loud — evening out a performance, adding punch, and making elements sit more consistently in a mix. Related tools include the limiter (an extreme compressor that hard-stops the signal at a set ceiling), the gate (which silences a signal below a threshold — useful for cutting bleed between mic’d instruments), and the expander (which increases the dynamic range rather than reducing it).
Dynamics control is one of the most important and least intuitive skill areas in mixing. Once you understand it, almost everything else clicks into place. Go deeper: Audio Compression Explained →
EQ: Shaping Tone by Frequency
An equaliser (EQ) lets you boost or cut specific frequency ranges in a sound. Cut the low-end mud from a guitar, boost the presence of a vocal, roll off the high frequencies of a room mic — EQ is the most fundamental mixing tool there is, and it appears on virtually every track in a professional mix.
There are different types: parametric EQ gives you precise control over frequency, gain, and bandwidth; graphic EQ works with fixed frequency bands; shelving EQ boosts or cuts everything above or below a set point. Most DAW channel strips include a built-in EQ, and dedicated EQ plugins like FabFilter Pro-Q extend the concept further. Go deeper: EQ Explained →
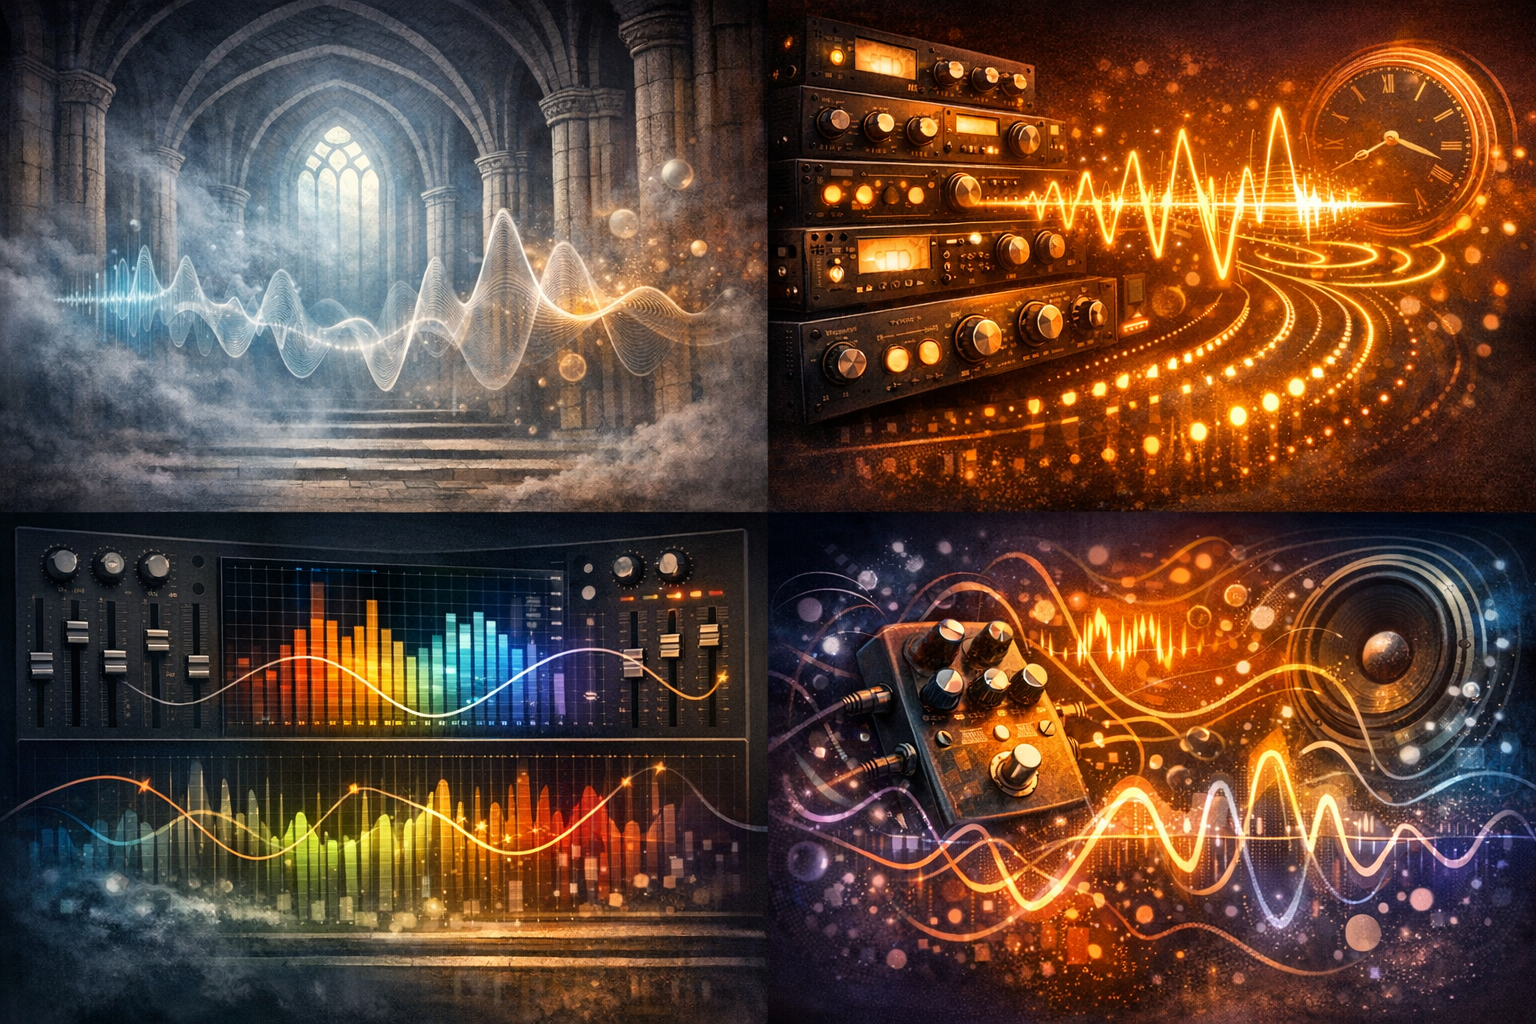
Time-Based Effects: Reverb and Delay
Reverb simulates the natural reflections of sound in a physical space — a small room, a large hall, a cathedral, a plate or spring reverb unit. It places sounds in an acoustic environment and is one of the most powerful tools for creating depth and space in a mix. Used subtly, it’s invisible; used heavily, it defines a track’s character. Go deeper: Understanding Reverb →
Delay records the incoming signal and plays it back after a set time interval — creating echoes that can be short and subtle (slapback) or long and rhythmic (synced to the tempo of a track). Delay is widely used on vocals and guitars, and it’s one of the key tools for building width and movement in a mix. Go deeper: Understanding Delay →
Modulation Effects: Movement and Thickness
Modulation effects use subtle, rhythmic variations in pitch, timing, or amplitude to create movement in a sound. The main types are:
- Chorus — blends a slightly pitch-shifted, time-delayed copy of the signal with the original, creating a thicker, ensemble-like sound.
- Flanger — similar to chorus but with a shorter delay time and feedback, producing a sweeping, jet-like effect.
- Phaser — splits the signal and applies phase shifts to one path, creating notches in the frequency spectrum that sweep up and down.
- Tremolo — rapidly modulates the volume of a signal, creating a pulsing or wobbling effect.
- Vibrato — modulates pitch rather than volume, similar to the natural vibrato of a vocalist or string player.
Modulation effects are often the difference between a sound that feels static and one that feels alive and interesting. Go deeper: Modulation Effects Explained →
Saturation and Distortion: Warmth, Grit, and Character
Saturation introduces harmonic distortion — usually modelled on the behavior of analog tape or valve (tube) circuitry — that adds warmth and richness to a sound. Used gently, it makes digital recordings feel more lifelike and cohesive. Used more aggressively, it becomes distortion or overdrive — the crunch of a driven guitar amp, the grit of a clipped vocal. Bitcrushing is a digital variant that intentionally degrades audio resolution for lo-fi character.
Saturation is one of the most powerful “glue” tools in mixing — many engineers put light saturation on almost every channel. Go deeper: Saturation and Distortion Explained →
Pitch and Harmony Effects
Pitch shifters move the pitch of a signal up or down — by semitones, octaves, or fine cents. Harmonisers add a pitch-shifted copy alongside the original, creating parallel harmonies. Pitch correction tools like Auto-Tune and Melodyne (or Cubase’s built-in VariAudio) detect and correct off-pitch notes in a vocal or melodic recording — either transparently, for corrective tuning, or as an audible effect in its own right.
Noise Reduction and Restoration
A category often overlooked in beginner tutorials, restoration tools remove unwanted noise from recordings — background hum, room tone, clicks and pops, broadband hiss. iZotope RX is the industry standard for this work. Most DAWs include basic noise reduction tools, but dedicated spectral repair software goes much further, allowing you to surgically remove sounds that would otherwise ruin an otherwise good recording.
How Effects Are Applied in a DAW
There are two main ways to apply effects in a DAW:
- Insert effects are placed directly on a track’s signal chain and process 100% of that track’s signal. EQ, compression, and saturation are almost always used as inserts.
- Send effects use an auxiliary (send/return) bus, where multiple tracks send a portion of their signal to a shared effect. Reverb and delay are typically used this way — you set up one reverb on an aux channel and send different amounts from different tracks, which is more efficient and creates a more cohesive sense of space than putting separate reverb instances on every track.
DAW Spotlight: Cubase’s Built-In Effects
Cubase ships with a comprehensive suite of built-in effects covering every category above. For dynamics: Compressor, Limiter, Gate, Expander, and the multiband Multiband Compressor. For EQ: the channel strip EQ plus the dedicated Studio EQ and GEQ-10/30 graphic equalisers. For time-based: RoomWorks and RoomWorks SE reverb, plus MonoDelay, StereoDelay, and PingPongDelay. For modulation: Chorus, Flanger, Phaser, Tremolo, and Vibrato. For saturation: Magneto II (tape saturation), Quadrafuzz (multiband distortion), and BitCrusher.
You don’t need third-party plugins to make great-sounding music in Cubase — the stock suite is genuinely capable and covers all the fundamentals.
Quick Tips to Carry Forward
- Learn one effect category properly before moving to the next — compression is usually the best place to start
- Use send effects for reverb and delay so multiple tracks share the same space
- Insert effects for corrective processing (EQ, dynamics, noise reduction); sends for space and color
- Less is usually more — start with subtle settings and increase until you hear the effect, then back off slightly
- Your DAW’s stock plugins are good enough to learn on — don’t buy more plugins until you’ve exhausted what you have
Effects are where music production starts to feel creative rather than technical. The categories above are your vocabulary — the deeper guides linked throughout this article will give you the grammar to put them to work.
Further Reading
- EQ Explained: How to Shape Tone and Fix Problems in Your Mix
- How to Use Compression: A Beginner’s Guide
- Understanding Reverb: How It Works and How to Use It in a Mix
- Understanding Delay: Echo, Slapback, and Rhythmic Effects Explained
- Modulation Effects Explained: Chorus, Flanger, Phaser, and Tremolo
- Saturation and Distortion Explained
- Mixing Basics: How to Balance, EQ, and Pan Your Tracks