
MusicTech.blog
EQ Explained: How to Shape Tone and Fix Problems in Your Mix
November 25, 2025
If there’s one plugin that appears on virtually every track in every professional mix, it’s the equalizer. EQ is the primary tool for shaping the tone of individual sounds and making them coexist in a mix without competing for frequency space. Understanding EQ is less about memorising frequency charts and more about developing your ear — but knowing the fundamentals accelerates that process significantly.
What Does an EQ Do?
An equalizer boosts or cuts the level of specific frequency ranges within an audio signal. By adjusting the balance of frequencies — reducing bass muddiness, cutting upper-mid harshness, boosting high-end air — you change the perceived tone and character of a sound, and define how it occupies frequency space alongside other elements in the mix.
EQ serves two distinct purposes that require different approaches: corrective EQ (fixing problems — removing resonances, cutting mud, reducing harshness) and creative EQ (shaping character — making a guitar brighter and more present, giving a kick drum more punch, adding air to a vocal). Most mixing involves both, often in sequence: correct first, then shape.
EQ Filter Types
High-Pass Filter (HPF)
A high-pass filter (also called a low-cut filter) removes frequencies below a set cutoff point, allowing higher frequencies to pass through. It’s the most commonly used EQ tool in mixing — applying a high-pass filter to most tracks (except kick drum, bass, and other elements that need their low-frequency content) removes rumble, subsonic energy, and low-frequency mud that accumulates across many tracks and makes a mix sound cloudy and unfocused.
A typical high-pass filter setting on a vocal might be 80–100 Hz, removing low-frequency room rumble and body movement below the useful range of the voice. On an acoustic guitar, 100–150 Hz. On a hi-hat or cymbal, 200–400 Hz. The principle: if a track doesn’t contribute useful content in a frequency range, remove it — less unnecessary low-frequency content in the mix means cleaner bass and more headroom overall.
Low-Pass Filter (LPF)
A low-pass filter removes frequencies above a set cutoff point. Used for removing high-frequency harshness, creating a darker tonal character, and processing reverb and delay returns to prevent them from sounding too bright and airy. In creative applications, a low-pass filter swept slowly with automation creates the classic filter sweep effect in electronic music.
Bell (Peak) Filter
A bell filter boosts or cuts a specific frequency range in a bell-shaped curve centred on a set frequency. Three parameters control the bell: frequency (where the boost or cut is centred), gain (how much boost or cut is applied), and Q or bandwidth (how narrow or wide the affected frequency range is). A high Q creates a narrow, surgical cut that targets a specific resonance. A low Q creates a broad, gentle boost or cut that affects a wider range of frequencies more naturally.
Bell filters are the workhorse of both corrective and creative EQ. High-Q cuts remove resonances and problem frequencies. Low-Q boosts add warmth, presence, or air to a sound’s overall character.
Shelf Filters
A shelf filter boosts or cuts all frequencies above (high shelf) or below (low shelf) a set frequency by a fixed amount. Unlike the bell filter which peaks at the set frequency and then returns to 0dB, the shelf filter rises or falls to the set gain and stays there. High shelf boosts add air and brightness across the top end of a signal. Low shelf boosts add warmth and weight across the low end. Both are commonly used for broad tonal character adjustments — adding air to a vocal, warming up a thin-sounding acoustic guitar, or adding bass weight to a keyboard part.
Parametric vs Graphic EQ
A parametric EQ provides fully adjustable frequency, gain, and Q for each band — maximum flexibility and precision. This is the standard EQ format for professional mixing. FabFilter Pro-Q 4, Waves SSL G-EQ, and the built-in EQ in every major DAW are all parametric equalizers.
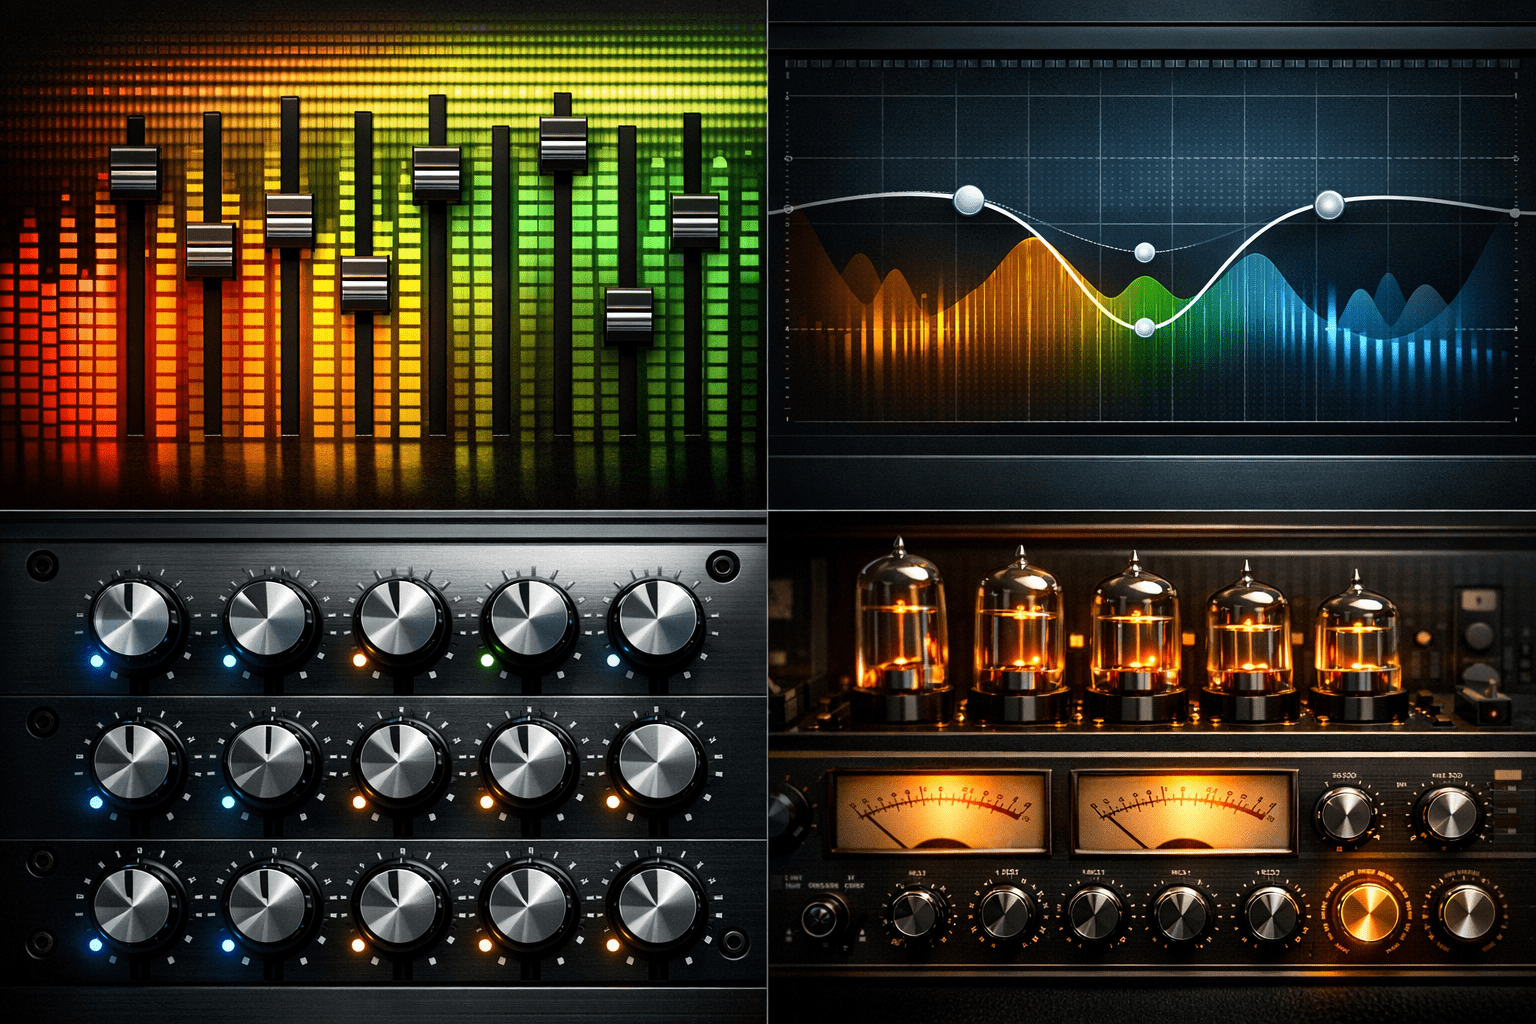
A graphic EQ provides a fixed set of frequency bands (typically 10 or 31 bands, each representing a fixed frequency) with only gain control per band. Graphic EQs are less flexible than parametric but immediately visual and intuitive — the position of the sliders shows the frequency response curve at a glance. Common in live sound applications and room correction scenarios.
Linear Phase vs Minimum Phase EQ
Standard EQ plugins use minimum phase processing — as they boost or cut frequencies, they also introduce small phase shifts around the affected frequency range. These phase shifts are generally inaudible on individual tracks but can accumulate when multiple EQs are stacked, or become noticeable when cutting frequencies across a full mix. Minimum phase EQs tend to sound punchy and musical.
Linear phase EQs process audio with no phase shift — the frequency response change is applied without affecting the time relationship between frequencies. This makes them more transparent on broad, gentle adjustments, particularly on mix buses and mastering chains where accumulated phase shift from multiple processors can become an issue. The tradeoff is pre-ringing (a subtle artefact on transients that becomes more noticeable with steep cuts) and higher CPU usage. FabFilter Pro-Q 4 offers both minimum and linear phase modes per band — a practical implementation that gives you the choice based on the application.
EQ by Source: Practical Starting Points
Kick Drum
High-pass at 30–50 Hz (removes subsonic energy below the kick’s useful range). Boost at 60–80 Hz for punch and weight (the fundamental). Cut at 200–400 Hz if the kick sounds boxy. Boost at 3–5 kHz for the click and attack of the beater. The exact frequencies depend on the specific kick recording — use your ears more than the numbers.
Snare
High-pass at 100–150 Hz. Cut at 300–500 Hz if the snare sounds boxy or ringy. Boost at 200 Hz for body and weight. Boost at 5–8 kHz for crack and snap. A narrow bell cut to identify and remove specific ring frequencies (use the sweep technique: boost a narrow band and sweep through frequencies until the ringing is emphasised, then cut that frequency).
Vocals
High-pass at 80–100 Hz. Cut at 200–350 Hz if the vocal sounds boxy or muddy. Boost at 3–5 kHz for presence and intelligibility. Boost at 10–12 kHz for air and openness if the vocal sounds dull. A de-essing approach: identify and cut the specific frequency (typically 5–8 kHz) that causes sibilance harshness, or use a dedicated de-esser plugin for dynamic control of sibilance.
Bass Guitar
High-pass at 30–40 Hz (removes subsonic content that wastes headroom). Boost at 60–100 Hz for fundamental weight. Cut at 200–300 Hz if the bass sounds muddy. Boost at 800 Hz–1 kHz for note definition and presence (helps the bass cut through on small speakers). The exact approach varies with whether the bass is electric guitar DI, miked amp, or synthesised bass.
The Subtractive EQ Principle
A common principle in professional mixing: subtract before you add. Rather than boosting a track’s weak frequency areas, look first for problem frequencies to cut. Cutting a narrow bandwidth of competing frequencies in one instrument to make room for another is often more effective than boosting the other instrument to make it cut through. This “making room” approach — creating space in the frequency spectrum for each element rather than boosting every element to compete — is central to how professional mixes achieve clarity with many simultaneous tracks.
Boosts are not wrong — many great mix decisions involve significant boosts — but reaching for cuts first keeps the overall mix level controlled and avoids the buildup that happens when many tracks are all boosted in overlapping frequency ranges.
Further Reading
- How to Use Compression: A Beginner’s Guide to Compressors
- Mixing Basics: How to Balance, EQ, and Pan Your Tracks
- FabFilter Pro-Q 4 Review: The EQ Plugin Every Mixer Should Know
- How to Master a Song at Home
- Audio Frequencies Explained: Pitch, Timbre and Harmonics
- Phase and Polarity Explained: Why Your Audio Can Disappear