
MusicTech.blog
Mixing is where your recordings stop being a collection of tracks and start becoming a song. It’s the process of balancing every element — level, tone, position, and dynamics — so that each part sits clearly in the mix and the whole thing sounds cohesive, intentional, and emotionally effective. This guide covers the fundamentals that apply in any DAW, with no prior mixing experience assumed.
What Mixing Is (and What It Isn’t)
Mixing is not mastering — mastering is the final step that prepares a finished mix for release. Mixing is not recording — by the time you’re mixing, your recordings should be clean and edited. If you’re fighting noise, timing, or pitch problems at the mix stage, those are editing problems. Fix them first, then mix.
A good mix does three things: it makes every element audible, it creates a sense of space and depth, and it serves the song. Technical perfection is secondary to those goals. A mix that’s technically correct but doesn’t serve the emotional content of the music is a failed mix. A mix that’s rough in places but makes the listener feel the right thing is a successful one.
Step One: Gain Staging
Before you touch EQ, compression, or effects, set your levels correctly. Gain staging is the practice of ensuring signals pass through your DAW’s signal chain at appropriate levels — loud enough to maintain a good signal-to-noise ratio, but not so loud that they clip or cause problems in subsequent processing stages.
A practical starting point: with all tracks unmuted and playing simultaneously, aim for the mix bus to peak at around -6 to -12 dBFS on the loudest passages. Individual tracks should generally peak well below 0 dBFS — a rough guide of -18 dBFS average for audio tracks gives you plenty of headroom for processing and mixing moves without clipping anything.
If your tracks are too loud, reduce their clip gain (not the fader — gain reduction before the signal hits the fader keeps your fader movements in a usable range). Getting gain staging right at the start makes every subsequent mixing decision easier and more predictable.
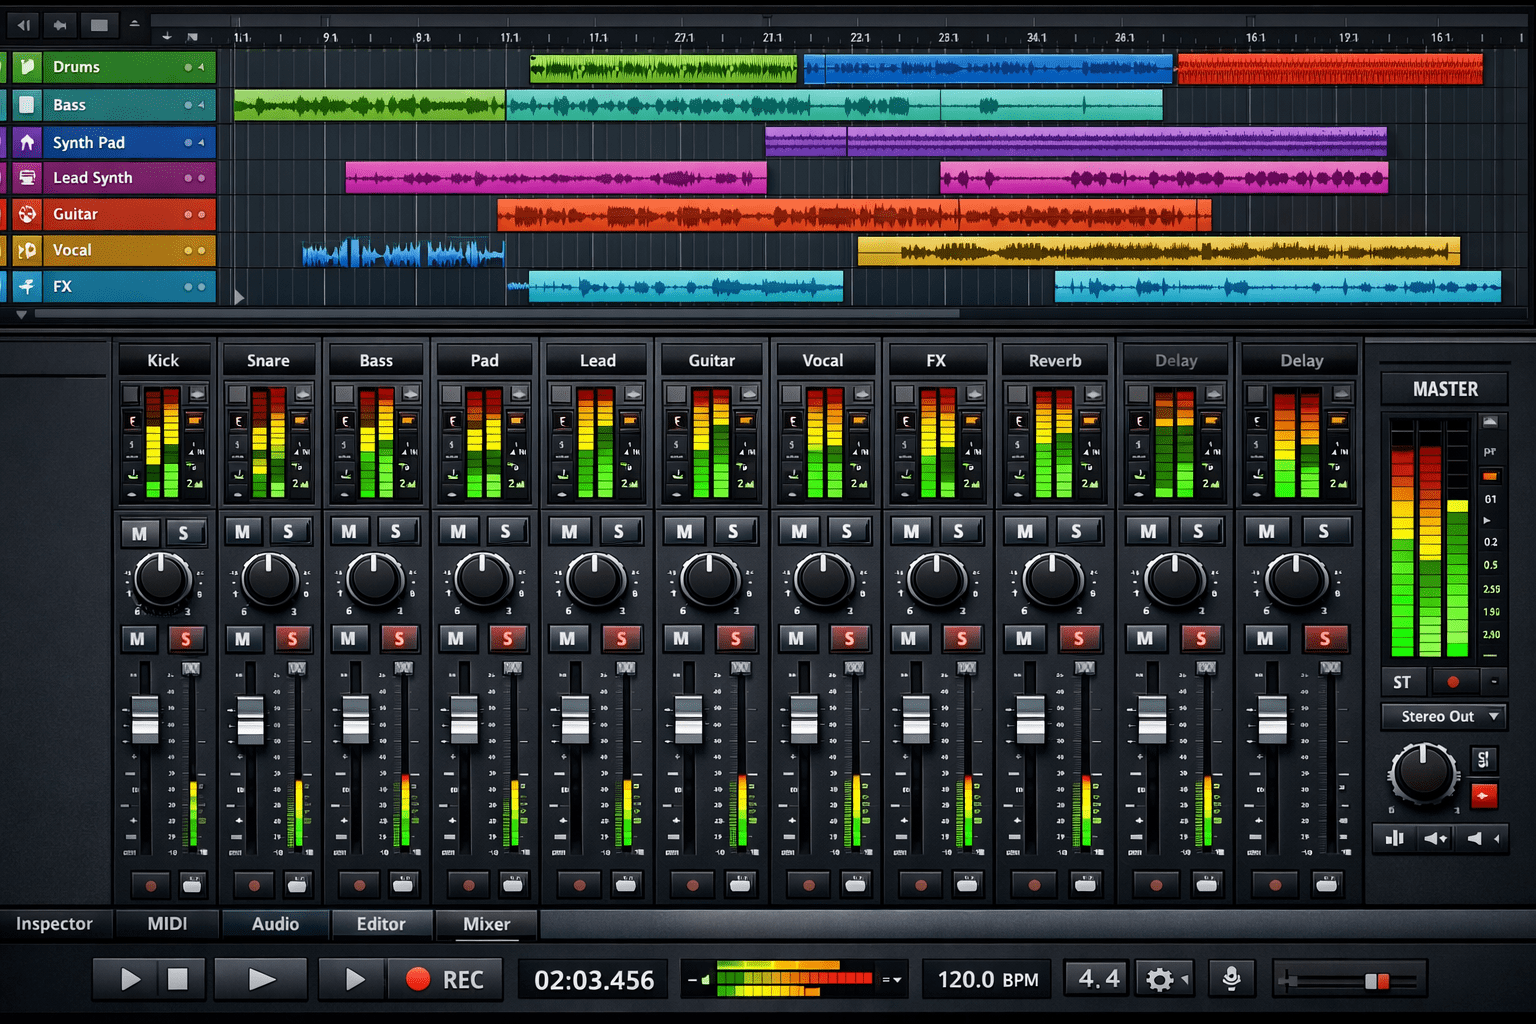
Building the Balance
The foundation of a mix is the level balance — the relative volume of every track. Start in mono: collapse your mix to mono and balance everything in mono first. If elements sit well balanced in mono, they’ll sit even better in stereo. Building a mono balance first eliminates the temptation to use stereo width as a substitute for proper level balance.
A typical approach for building the initial balance:
- Start with the drums — the rhythmic foundation. Set the kick, snare, and overheads in a relationship that sounds like a drum kit, not individual drums.
- Add the bass — find the level where bass and kick work together without one masking the other. The low-frequency relationship between kick and bass is one of the most critical in any mix.
- Add the primary melodic/harmonic element — typically the lead vocal, the lead instrument, or the central rhythm instrument. This is the anchor of the mix; everything else serves it.
- Fill in supporting elements — rhythm guitars, keys, pads, background vocals — at levels that support the primary elements without competing with them.
- Add effects and ear candy last — reverbs, delays, and supporting elements that add depth and interest without obscuring the primary content.
- iZotope: Audio Mixing Guide
- Sound On Sound — Professional Audio Magazine
Panning: Creating the Stereo Field
Panning distributes elements across the stereo field from hard left to hard right. A few principles that apply in most mixes:
- Keep low-frequency content centred — kick drum, bass, and sub-bass elements should be centred or very close to centre. Low frequencies are omnidirectional in practice, and panning bass elements hard to one side creates phase and balance issues.
- Keep the lead vocal centred — the lead vocal is the focus of most mixes and belongs in the centre of the stereo image.
- Use panning to separate similar elements — two rhythm guitars, left and right. Multiple background vocal layers spread across the stereo field. Two pianos panned slightly apart. Panning similar sounds apart prevents them from masking each other.
- Use room to suggest space — overhead microphones, room microphones, and stereo instruments can be wider than mono elements, creating a sense of depth and dimension.
- Check in mono regularly — elements that sound separated in stereo can collapse and disappear in mono. If a listener hears your mix in mono (phone speaker, smart speaker, car audio), everything should still make sense.
EQ in the Mix Context
Every element in a mix occupies frequency space. When multiple elements share the same frequency range — the guitar’s midrange and the vocal’s midrange, the kick drum’s low-end and the bass’s low-end — they compete for that space and the mix sounds cluttered and unclear.
Mix EQ is primarily about creating space: cutting frequencies in one element to make room for another. Cut the upper midrange of the guitars slightly in the frequency range where the vocal is most present, and the vocal sits more clearly without needing to be louder. Cut the bass guitar at the frequency where the kick drum’s punch lives, and both can coexist without one masking the other. This “frequency carving” approach — creating pockets of space for each element — is fundamental to how professional mixes achieve clarity with many simultaneous tracks.
Compression in the Mix
Compression in a mix context serves two primary purposes: controlling dynamic range (making performances more consistent) and adding character (the specific compression behaviour of different compressor types contributes sonic character beyond just dynamic control).
A practical approach: use compression on sources with wide dynamic range (vocals, bass, acoustic guitar) to bring the quiet moments up and the loud moments down, making every note audible in the mix without constant manual fader moves. Use bus compression (on the drum bus, the vocal bus, the mix bus) to add cohesion — the “glue” that makes elements feel like they’re in the same space rather than separately processed sounds.
Reverb and Delay: Creating Space and Depth
Reverb and delay place sounds in acoustic spaces and create a sense of depth in the mix. A few principles:
- Use sends rather than inserts for reverb — routing multiple tracks to a shared reverb send gives you consistent acoustic “room” across the whole mix. Multiple different reverbs on multiple different tracks can make a mix sound like it was recorded in several different spaces simultaneously.
- Pre-delay on reverb — adding 15–30ms of pre-delay before the reverb tail separates the original sound from the reverb, giving the source clarity and presence while still sitting in a space
- Match reverb character to the music — a small plate reverb suits an intimate solo performance. A large hall reverb suits orchestral music. A short room reverb suits a tight, close-miked recording. The reverb creates the acoustic context the music lives in.
- Use delay for rhythm and space — tempo-synced delay adds rhythmic interest and fills space between notes without the smearing of reverb
Automation: Making the Mix Move
A static mix — where every fader stays at the same level from start to finish — rarely sounds as good as an automated mix where levels and effects change to serve the song’s structure. Automation allows the vocal to get slightly louder in the chorus, the guitars to pull back during the solo, the reverb send to increase into the bridge and pull back at the verse. These dynamic changes mirror what a human mix engineer would do in real time on an analogue console.
Basic volume automation on the lead vocal is one of the highest-impact mixing moves available — riding the vocal up and down phrase by phrase to keep it consistently present through the changing dynamic of the music below it. This level of detail in vocal automation is what separates professional-sounding mixes from home studio recordings.
Referencing: Checking Your Mix Against Reality
No mixing session should happen in isolation from the real world. Regular reference checks — comparing your mix against commercial releases in the same genre — tell you whether your tonal balance, loudness, and spatial decisions are appropriate or whether your room and monitors are misleading you.
Import a reference track at a matched loudness level into your DAW. Switch between your mix and the reference regularly during the session. If your mix sounds thin compared to the reference, investigate the low-mid and bass. If it sounds harsh, look at the upper midrange. If it sounds too dark, check the high end. The reference is not a target to copy but a calibration tool that keeps your ear honest about where your mix actually sits.
Further Reading
- EQ Explained: How to Shape Tone and Fix Problems in Your Mix
- How to Use Compression: A Beginner’s Guide to Compressors
- Understanding Reverb: How It Works and How to Use It in a Mix
- Understanding Delay: Echo, Slapback, and Rhythmic Effects Explained
- How to Master a Song at Home
- Audio Editing Basics: How to Clean Up and Arrange Your Recordings