
MusicTech.blog
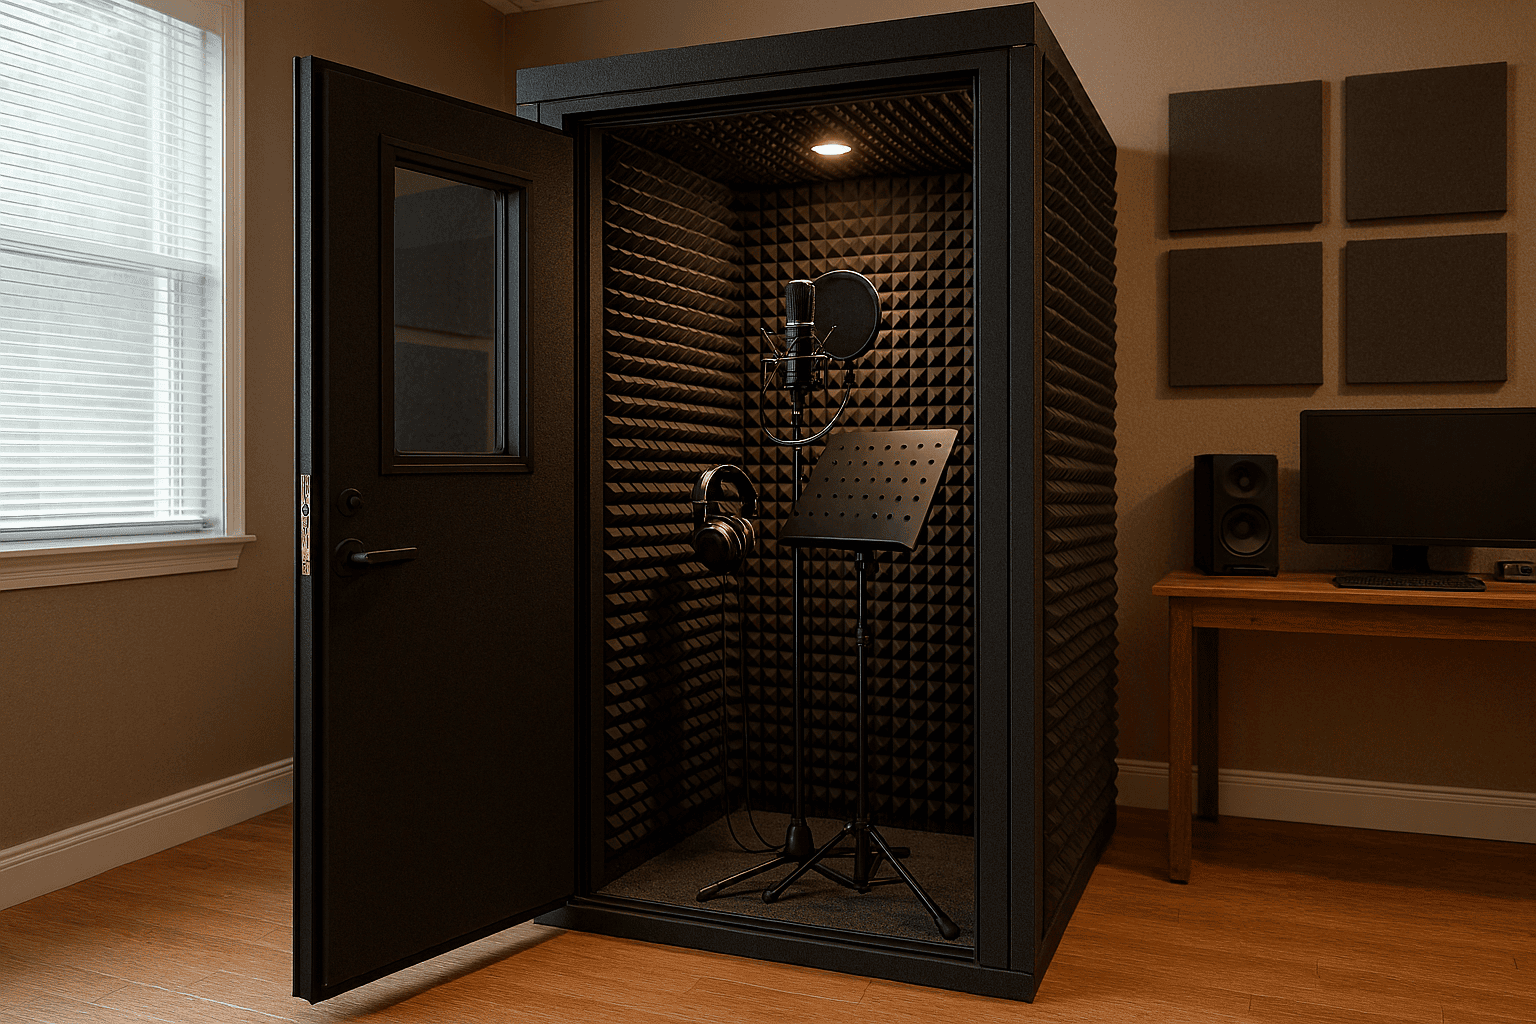
“Vocal booth” gets used as a catch-all term, but it’s really asking two separate questions: how do I keep outside noise out, and how do I stop my own room’s reflections from coloring the vocal sound? Conflating the two is the most common budget-wasting mistake in home vocal recording.
Isolation vs. Treatment: What Each One Actually Solves
Isolation stops sound from crossing the boundary of your recording space, keeping outside noise out and your own vocal from bothering others. It relies on mass, sealing air gaps, and decoupling, and is genuinely difficult and expensive to achieve well in most homes.
Acoustic treatment controls how your voice interacts with the surfaces inside the room — reducing the reflections and boominess that make a vocal sound distant or boxy. This is what determines how professional a vocal recording sounds, and it’s dramatically cheaper than true isolation. Most bedroom vocals fail because the room adds a boxy character to the voice, not because of background noise.
Budget Priority Order
1. Reduce Reflections Close to the Microphone First
The reflections doing the most damage are the ones bouncing off nearby surfaces close to the mic. A modest amount of absorptive treatment positioned directly around and behind the vocalist delivers a disproportionate improvement for the cost. A simple setup: hang moving blankets or build a couple of budget DIY acoustic panels on a portable frame, angled slightly to avoid a flat parallel reflection back into the mic.
2. Treat the Space Behind the Vocalist Specifically
If you can only treat one part of a room, treat the wall directly behind where the vocalist stands. This is usually the single largest source of a boxy, roomy character on the recording.
3. Consider a Portable Vocal Reflection Filter
Reflection filters mounted on the mic stand genuinely help by reducing the closest reflections right at the capsule. They won’t block outside noise, but for reducing a boxy room sound in a shared space, they’re a reasonable portable option.
4. Add Closet or Small-Space Recording as a Free Option
A clothes closet full of hanging fabric is one of the most effective zero-cost vocal recording spaces available — the clothing acts as dense, irregular absorption that kills reflections remarkably well, often better than an untreated bedroom corner.
5. Only Pursue Real Isolation If Noise Is the Actual Problem
If your recordings are being ruined by outside noise rather than room character, that’s a different and more expensive problem. Don’t spend this budget until you’ve confirmed treatment alone hasn’t solved your actual problem.
Putting It Together on a Real Budget
For most home vocalists, a workable setup looks like: two to four DIY or budget commercial absorptive panels positioned behind and beside the vocalist, a closet as a backup option for problem takes, and isolation spending reserved only if outside noise turns out to be a genuine, confirmed issue. This gets the majority of the professional vocal sound improvement without the cost of a dedicated isolated booth structure.